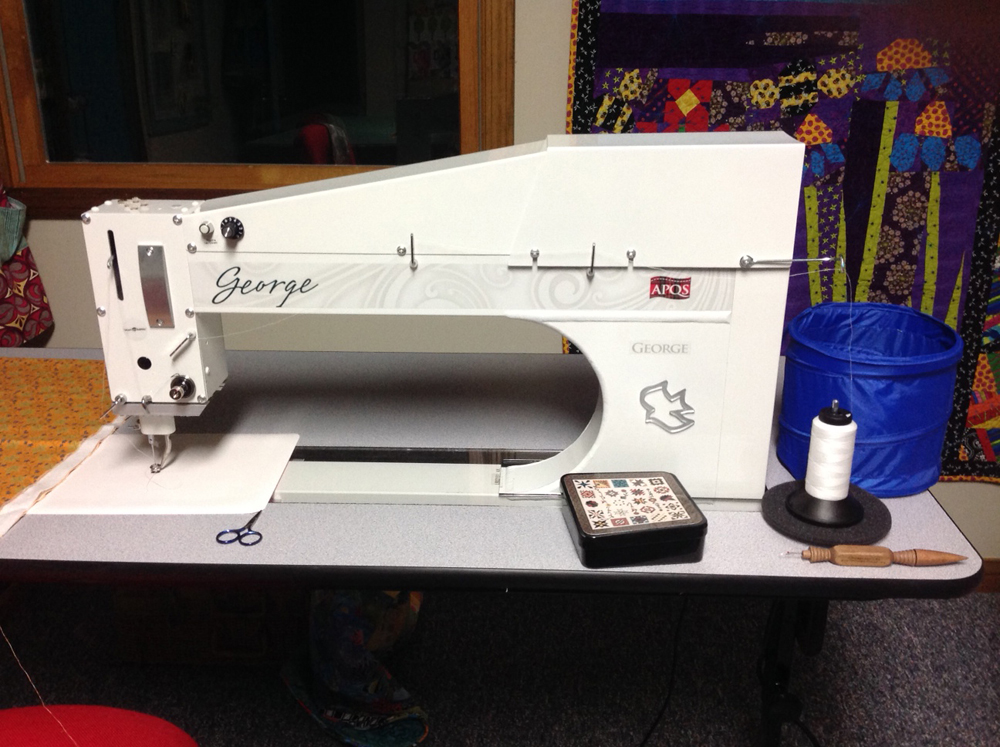
As you may know, my Mom and I recently went together and bought a quilting machine. We bought a sit down machine by APQS. Their sit down model is named George. I have been quilting my own quilts since I started quilting (didn’t know to be afraid of it). I feel like I do a good job on my domestic machine, but knew I could do better and easier on a machine with larger throat; George has a 21″ throat. Here is a picture of George. I was SO excited when he arrived.
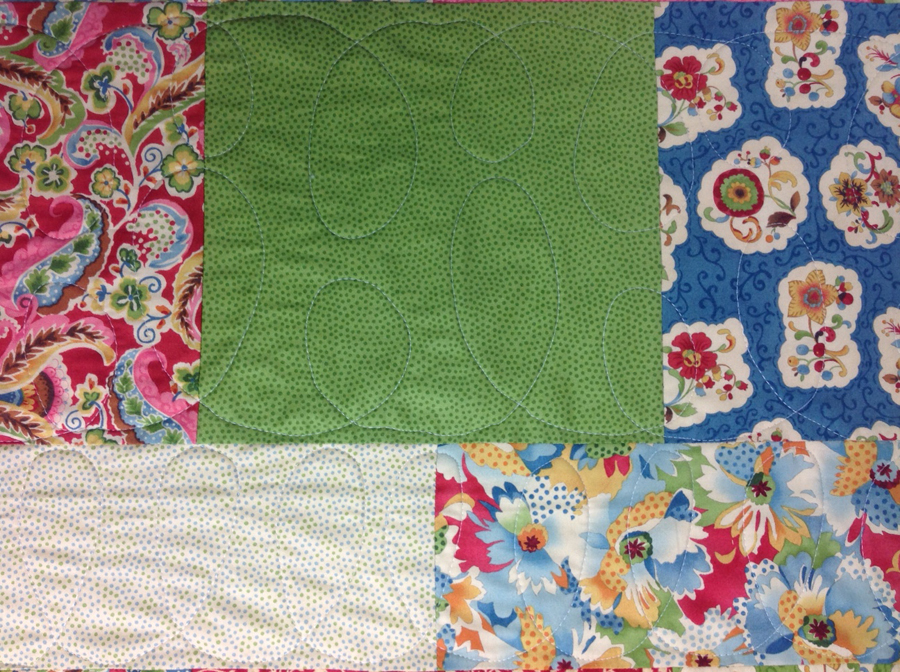
After many practice pieces I was finally ready this weekend to quilt my first top on George. The top I chose is small (only 48″ x 61″) and simple with pretty large squares and rectangles. It was tempting to just do a meander, but I decided I wanted to do something different. I also wanted to do a big design to really take advantage of my throat space. After looking at some magazines and a couple quilting design books I decided to do large loops. I bought a book of designs the day I ordered George. It starts with easy designs and then gives variations and harder designs that build on the easier ones. In this book I saw loops and then Ls and Es (like cursive Ls and Es). My quilt had narrow rows and wider rows. I decided to do individual loops in the smaller rows and 2 sets of Ls and Es in the wider rows. Here is a close up of each:


I was pretty pleased with how they looked and the size of the stitches. I am used to using a Bernina 440 with a stitch regulator. George has a speed regulator as opposed to a stitch regulator. This is just a dial that goes from 0 – 10, you determine your optimum speed and then set the dial accordingly. So, it’s really a matter of figuring out what your perfect speed is and setting to that number. At first my stitches were a little inconsistent; you could see where I was going faster and where I was going slower. By the end of the quilt I feel I had it pretty well figured out and the stitches are more regular in size. I am sure that perfect speed will vary with design and familiarity. Here is a bigger picture of the quilting.
As you can imagine I was a little nervous getting ready to quilt my first quilt. I had done several practice pieces and read the manual a couple times. I had prepared one final practice fabric to make sure tension was good. I pulled the thread up from the bobbin, did a couple stay stitches and started quilting. Wouldn’t you know it I immediately ran out of bobbin thread!!! Luckily changing the bobbin is no big deal so changed that and started stitching again and the tension was off. After freaking out a little bit, I got everything adjusted and just so. In the end I think it was a combination of tension problem + me getting used to NOT having a stitch regulator. Here is a picture of the finished quilt top & bottom.

Overall I am pleased with the quilting and how quickly I got done (something to be said for BIG designs). There were several “lessons learned” and “things to improve on” so this was a good learning session. Obviously the biggest thing to work on is regulating my stitches. I think that will come pretty easily to me with time. I have heard a couple famous quilters say it’s better to not use a stitch regulator for several reasons. Here is what Leah Day said when asked if she uses a stitch regulator “No. I personally believe that the best stitch regulators in the world were build inside your hands, feet, and brain. All you have to do is learn to use them properly!” I’m going to go with that thought.
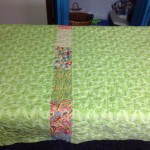
I found that I like the look of the skinnier loops as opposed to the fatter/rounder ones best and I should have concentrated more in the beginning on the size (width) of the loops so their size and shape would be more consistent. At first I found myself stopping at the bottom of each loop. Stopping isn’t a problem, but due to the size of the throat there was no need to stop. The size of the throat actually allowed me to go across the entire row without stopping whereas with my old machine I would have had to move and reposition the fabric many times going across a row. Here is the quilt once bound:

I have 7 more tops ready to be quilted so better get to work. It will be so fun trying new things with George and so much easier to do the quilting. I have a couple big quilts I was not going to even try to quilt on my Bernina; it will be fun to tackle a big quilt on George.
And, because he is the other new love of my life I have to share of picture of my sweet puppy Reginald. He is 11 weeks old and adorable, but a little rotten and spoiled. Here he is on his favorite dog bed with Opal the Owl, such a cutie! My nickname for him is Lovebug.

Sew long from the Quilter on Osage Hill!
a thought by Betty Prough
Your blog is informative and entertaining. Can’t wait to see your quilting in person! And Reginald, of course.